Search
For The Answer
Click here to access our database of
Plant Answers
Search
For The Picture
Click here to access the Google database of plants
and insects
Information
Index
Alphabetical Listing of Topics, Recommendations
and Plants
- Turf Grass & Sod
- Milton Glueck, Host of Milberger's Gardening Show
- Arcadia
Archives -
Greg Grant - Friends of PLANT Answers
Milberger's Nursery and Landscaping
3920 North Loop 1604 E.
San Antonio, TX 78247
210.497.3760
nursery@milbergersa.com
Open 9 to 6 Mon. through Sat.
and 10 to 5 on Sun.

Three exits east of 281, inside of 1604
Next to the Diamond Shamrock station
Please click map for more detailed map and driving directions.


GVST
GARDENING VOLUNTEERS OF SOUTH TEXAS
6798
Culebra Road SA, TX 78238 (210) 522-9220 Fax (210) 522-9271
www.gardeningvolunteers.org
|
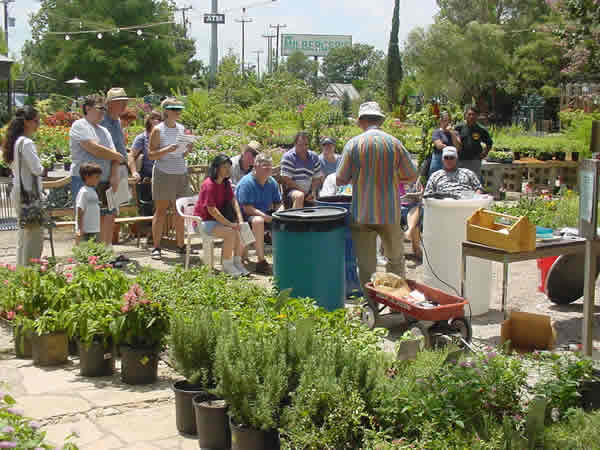
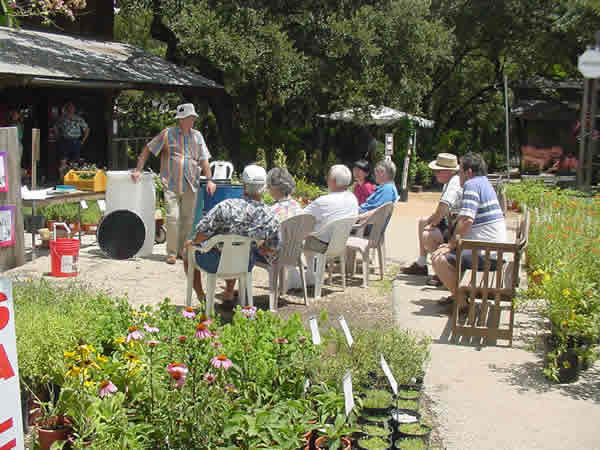
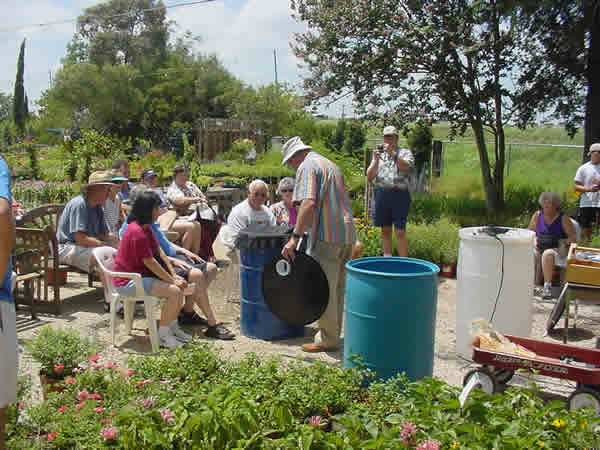
Rain Water Barrel Demonstration
please click on any image to view a larger image |
|||
 |
 |
 |
 |
_____________________________________________________
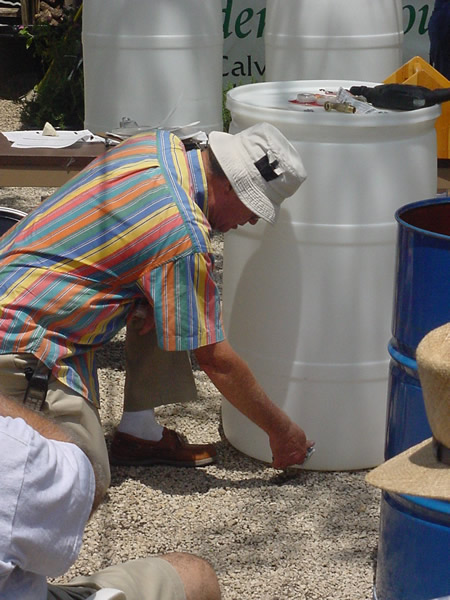
To Make a Rain Barrel from a Plastic Barrel
- Purchase a ¾ “plastic faucet and a tube of silicone sealant from the home improvement center.
- Drill a 15/16” hole about an inch or so up from the bottom of the barrel. For plastic barrels, a regular paddle bit or hole saw will do the job. The hole cannot be any bigger than 15/16”.
- Insert the threaded end of the faucet in the barrel and slowly start turning it into the barrel.
- When the threads start to “take”, add a ring of sealant around the threads on the part of the faucet outside the barrel.
- Continue turning the faucet until you can tell that it’s seated against the barrel. If the barrel will be placed on the ground, turn the faucet to a “sideways” position so that you can attach a short hose to it.
- Allow the assembly to stand overnight before using.
- To connect the barrel to a downspout from the guttering system, purchase a down spout connector from the home improvement center. It is rectangular on one end and 4” round on the other end.
- Draw the size of the round end of the connector on the top of the barrel close to the side.
- Drill a small hole or two at the edge of the drawn circle.
- Insert a saber saw into the hole and cut the circle.
- Insert the connector and place a small bead of silicone sealant around it.
- If the lid of the barrel is removable, remove it, place a piece of screen wire over the top of the barrel and reinstall the lid fastening ring without the lid.
- Note that a brass faucet may be used in a plastic barrel, but the hole size will be different and the setup is the same as the one below for the metal barrels.
To Make a Rain Barrel from a Metal Barrel
- Purchase a ½” brass faucet, metal 1” flat washer, a rubber hose gasket, a 7/8’ bi-metal hole saw, one square yard of aluminum wire or nylon mesh (screen wire), and a ¾” conduit nut (electrical department) from the home improvement center.
- Drill one hole an inch or so above the bottom of the barrel.
- Install the 1” metal flat washer on the threaded end of the faucet that goes into the barrel.
- Insert the faucet with the washer into the hole.
- Install a rubber gasket on the threaded end of the faucet inside the barrel. You’ll need some help on this part. Have someone hold the faucet while attaching the gasket and the nut.
- Install a nut on the threaded end of the faucet.
- Tighten the nut until the gasket “squeezes” a little inside of the barrel. Sometimes it is easier to turn the faucet rather than the nut. You may turn the faucet “sideways” if the barrel will be setting on the ground.
- Remove
the lid fastening ring and take out the plastic top of the barrel.
-over-
- Install the wire or nylon mesh over the top of the barrel.
- Install and tighten the lid fastening ring without the lid.
To
Connect Two or More Plastic Barrels
- Drill a 15/16 hole about 2 inches down from the top of both barrels.
- Insert a male-threaded 3/4” PVC connector in the hole in each barrel. Be sure to add sealant to the final few threads.
- Place the barrels side by side in the position where they will be permanently mounted or placed.
- Cut a piece of 3/4” PVC to the length you desire between the two barrels.
- Insert the pipe into the connector in each barrel.
Connecting two or more metal barrels is the same process except that you will probably have to use metal pipe—either galvanized or copper and the appropriate fittings.
For a really neat setup, place another pipe between the barrels
close to the bottom so that the barrels all drain at the same time That way, you only need one faucet on one of
the barrels.
To
Add a Little Gravity to the Barrels
Buy 3 cinder blocks at the home center and arrange
them in a triangle on the ground.
Set each barrel on top of the triangle or square.
Attach a short hose to the faucet.
To get even more height, build a sturdy stand as high as you
need or want it. Note that
a full barrel of water weighs over 400 pounds, so the stand has to
be sturdy, well-braced and placed on solid footing.
One person told us of a neighbor who laid his barrels horizontal
on a stand and then connected them together.
He had about 10 barrels stacked up so that he had lots of gravity
to push the water out the bottom barrel’s faucet.
___________________________________
The source for this GVST Gardening Guide is Tom Harris, PhD, of the Gardening Volunteers
of South Texas and gardening columnist for the Boerne Star weekly newspaper. Demonstration
barrels were furnished by Milberger’s Landscaping Nursery. (The barrels
for the demonstration were purchased from Dave the Barrel Man, 811 Roosevelt, San Antonio, 210-534-5416)
GVST