|
Many of us have been forced to save seed of our favorite tomato varieties because of discontinuance of seed production by major seed companies or to save a family or heirloom selection. The saving of seed from hybrid varieties used to be discouraged since the original genetics which make the variety superior could be slightly changed after saving the seed for several years. However, most of the superior characteristics will remain because tomatoes and peppers are 85 percent self-pollinated—especially the first fruit. The possibility of losing ALL of the superior characteristics of a discontinued variety make the effort worthwhile.
Tomato seed are some of the easiest to clean and save. Following is the entire procedure.
Seed Extraction
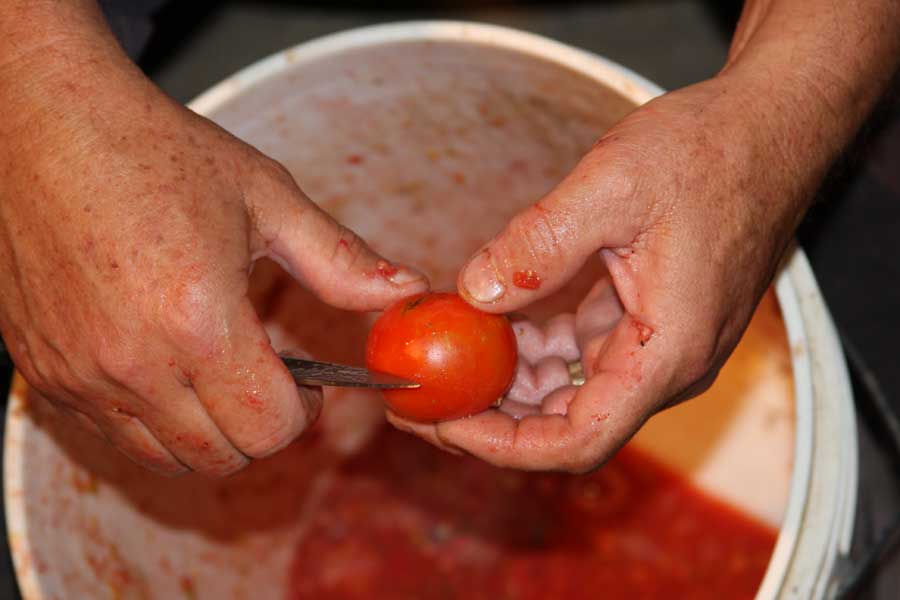
1. Harvest ripe-to-over-ripe fruit which has had the stems removed and cut into halves.
|
1A. If stems are not removed, they will gather on the bottom with the clean seed.
|

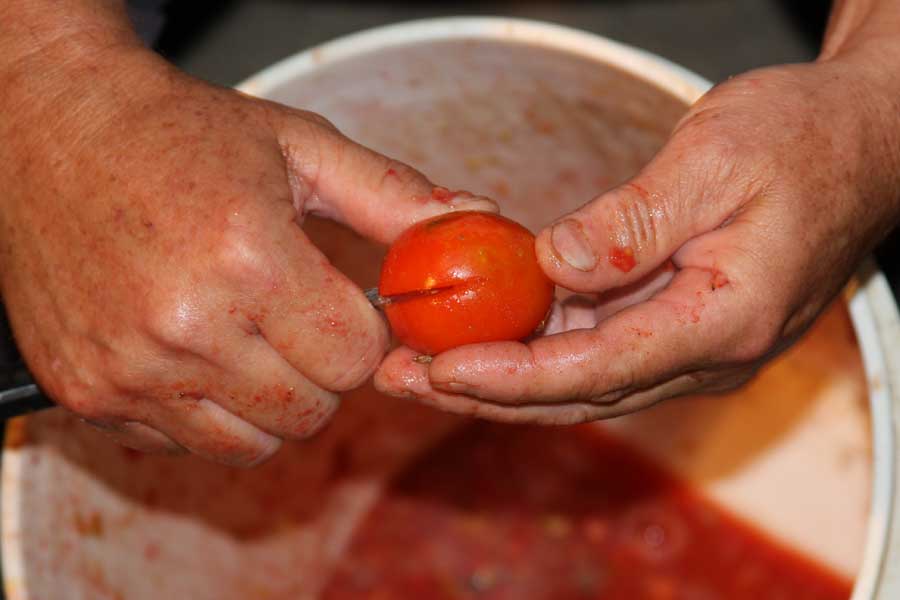
2. Cut through the center of the fruit.
|

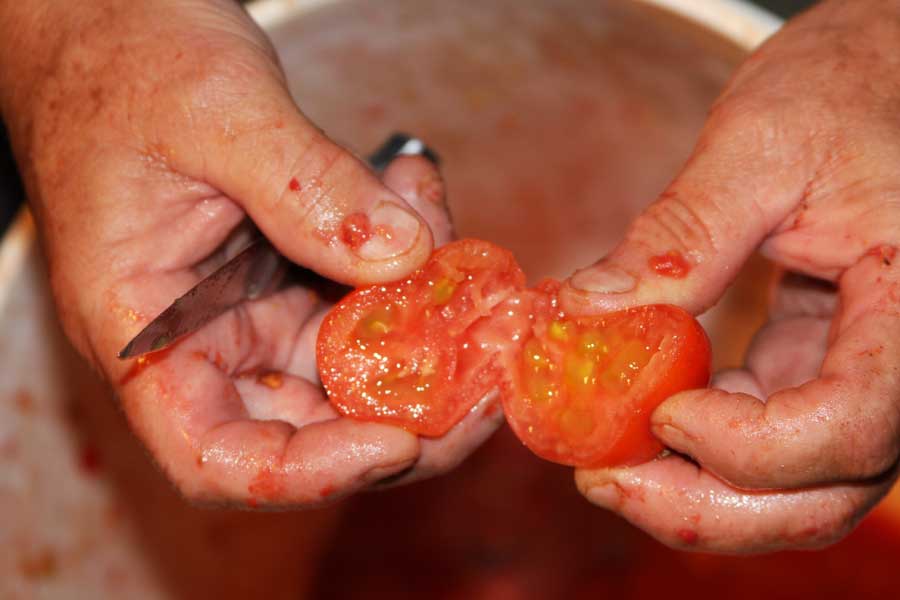
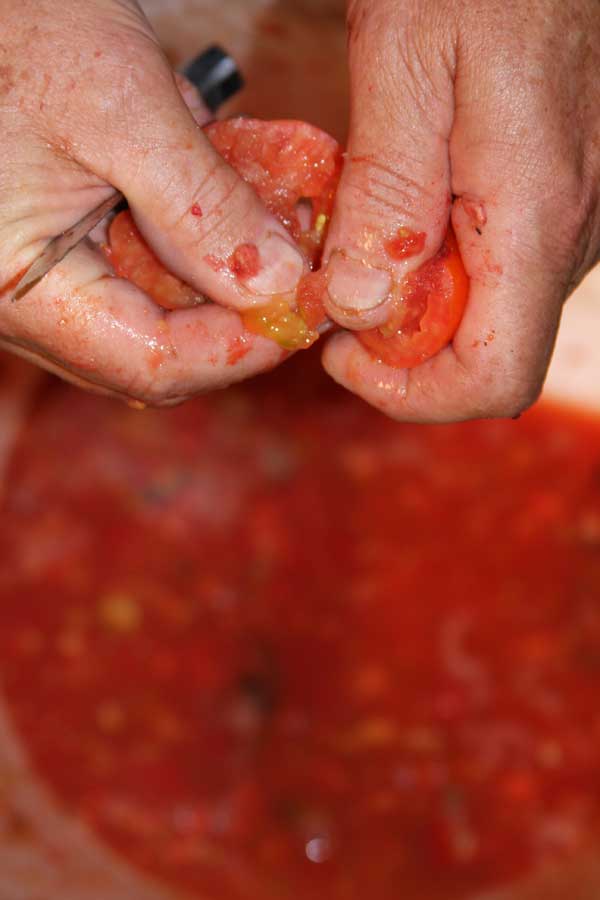
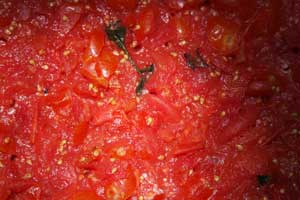
3. Open the fruit exposing the gel-covered seed.
|
4. Mature seed will be covered with gel which is placenta tissue.
|

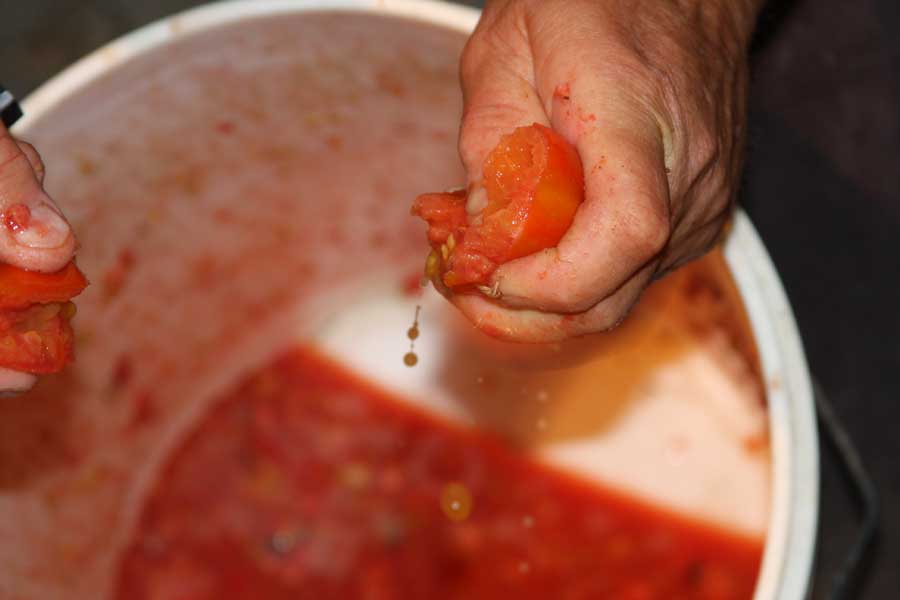
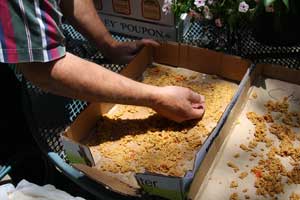
5. Squeeze seed only into five-gallon bucket. Make a slinging motion to dislodge seed from the fruit when squeezing.
|

5A. After seed removal has been completed, wash the seed from the bucket sides with a little bit of water.
|

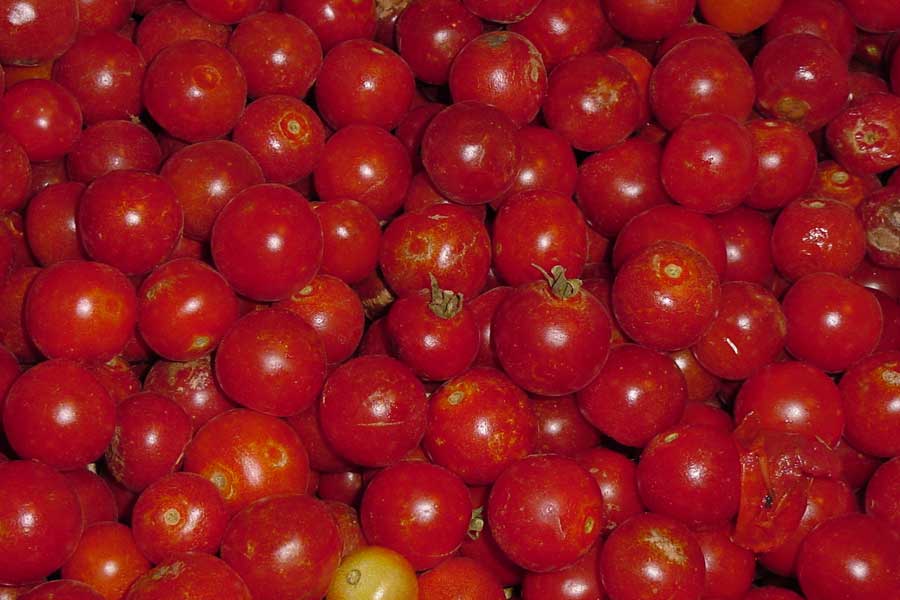
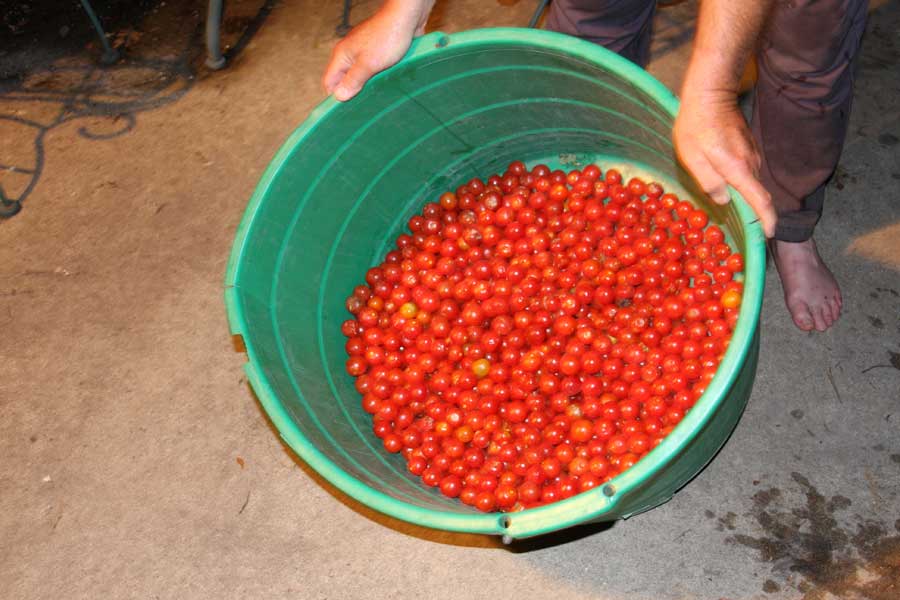
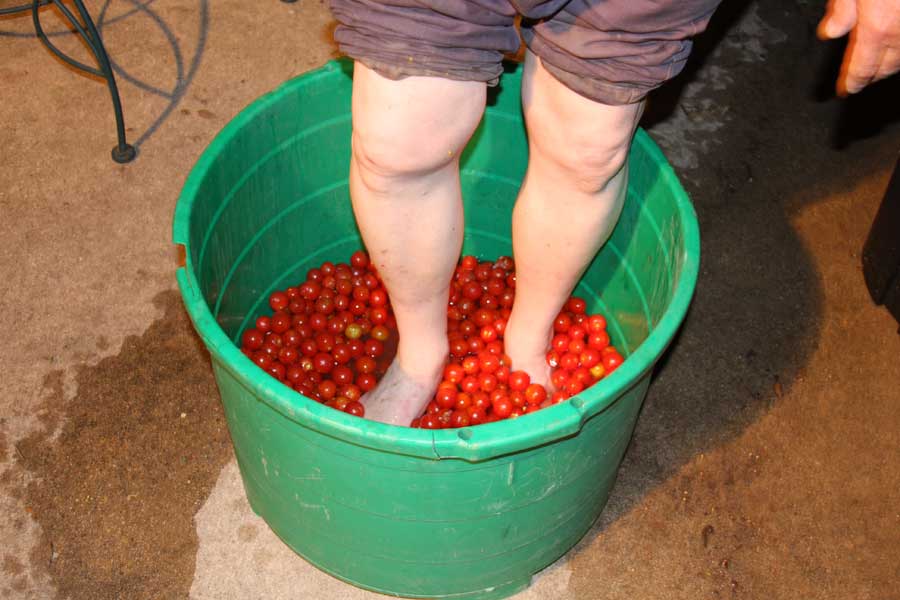
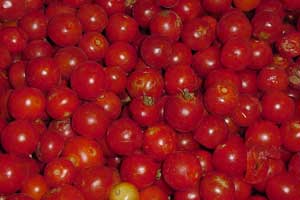
6. Small tomatoes require more work if EVERY tomato is to be cut!
|
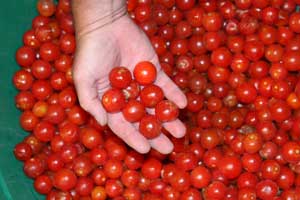
7. All fruit should be red-ripe and stems removed.
|

8. A bit of water is added as a carrier solution.
|
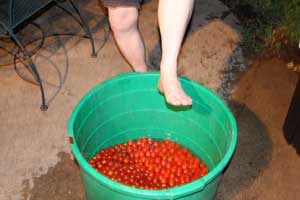
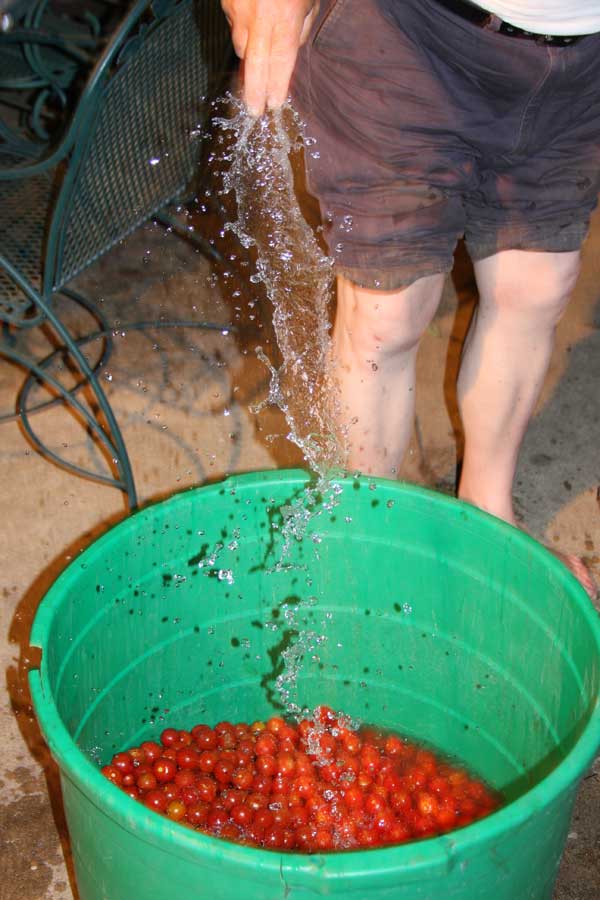
9. Rather than cutting each fruit, apply a bit of foot pressure to explode them.
|

10. Don't worry about cleanliness; all pollutants will be disposed of later.
|
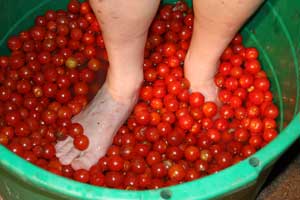
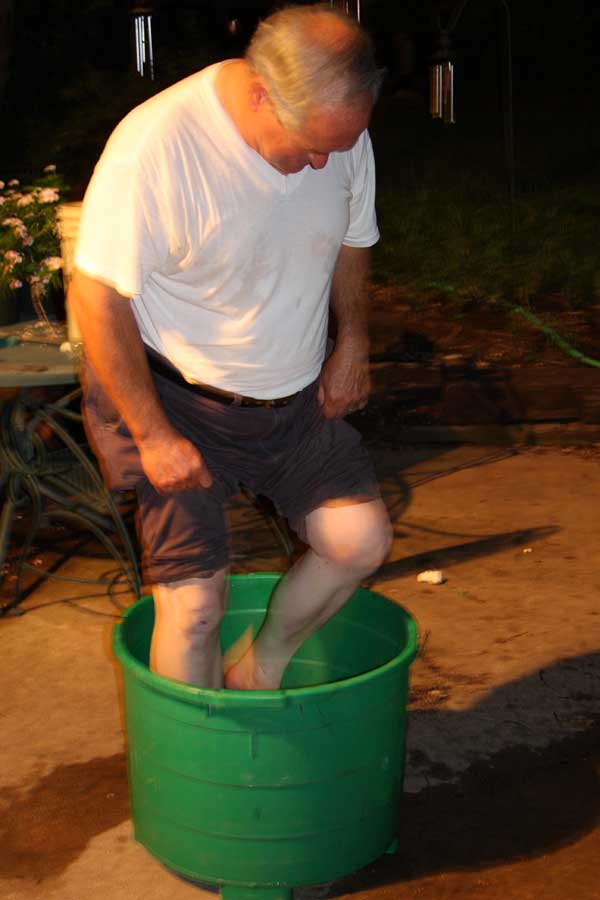
11. The greater pressure applied, the greater the seed-extraction explosion will be.
|

12. The “Parsons' Lard of the Dance” routine gets the job done.
|

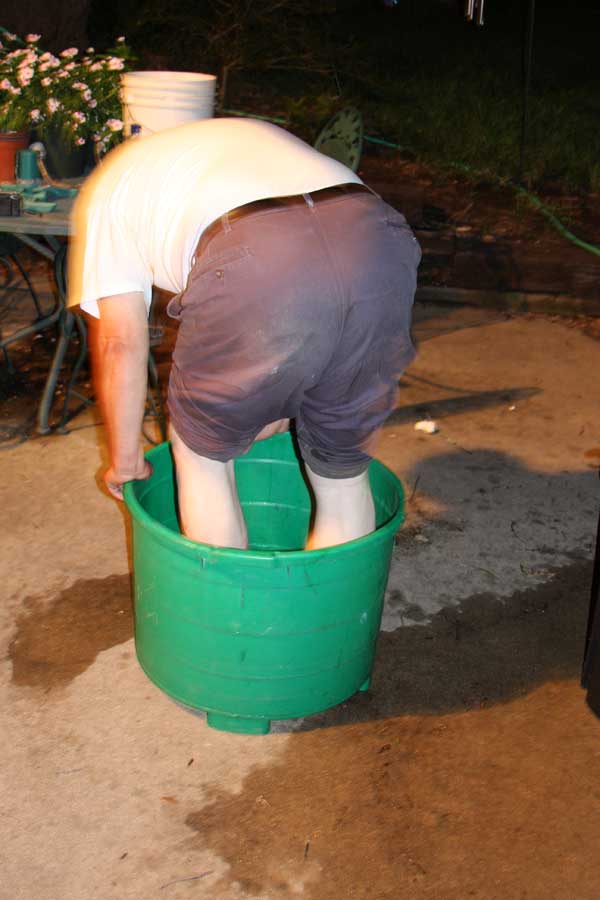
13. A little back-side action helps with the compression technique.
|

14. Big, flat feet are very efficient for the flattening procedure.
|
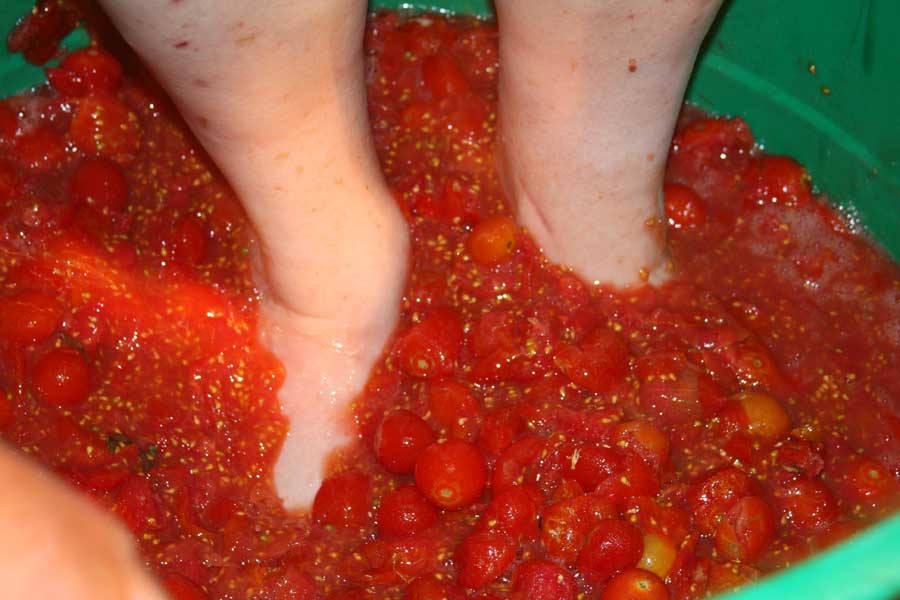
15. When the stomping is done, the fruit has been exploded and the seed are extracted.
|
|
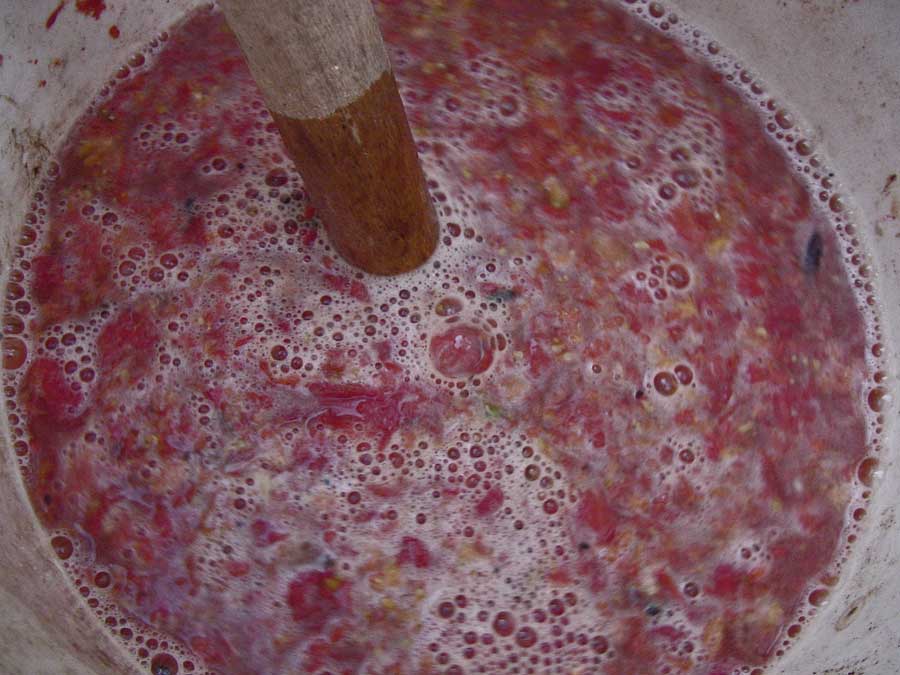
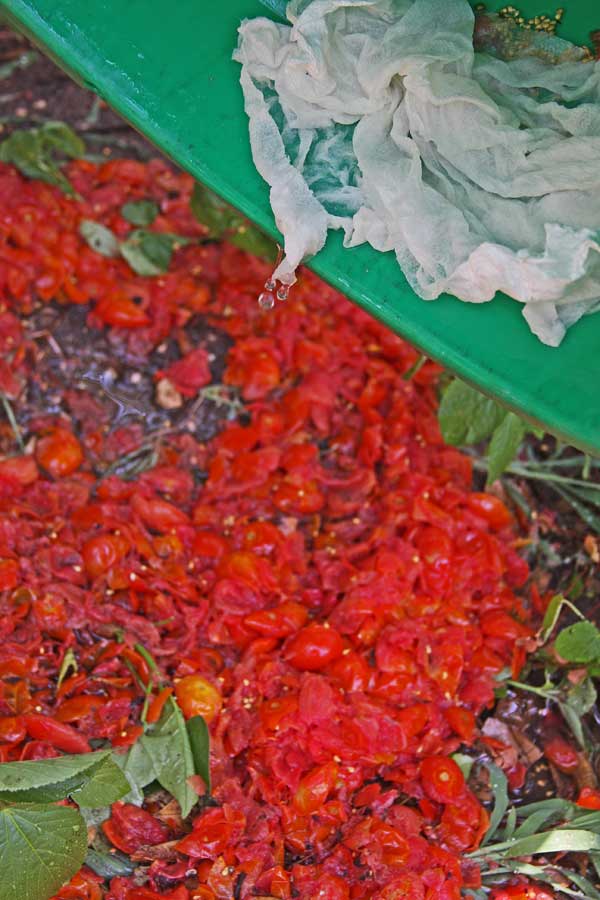
Seed Processing and Removal of Gel Coating Using Fermentation
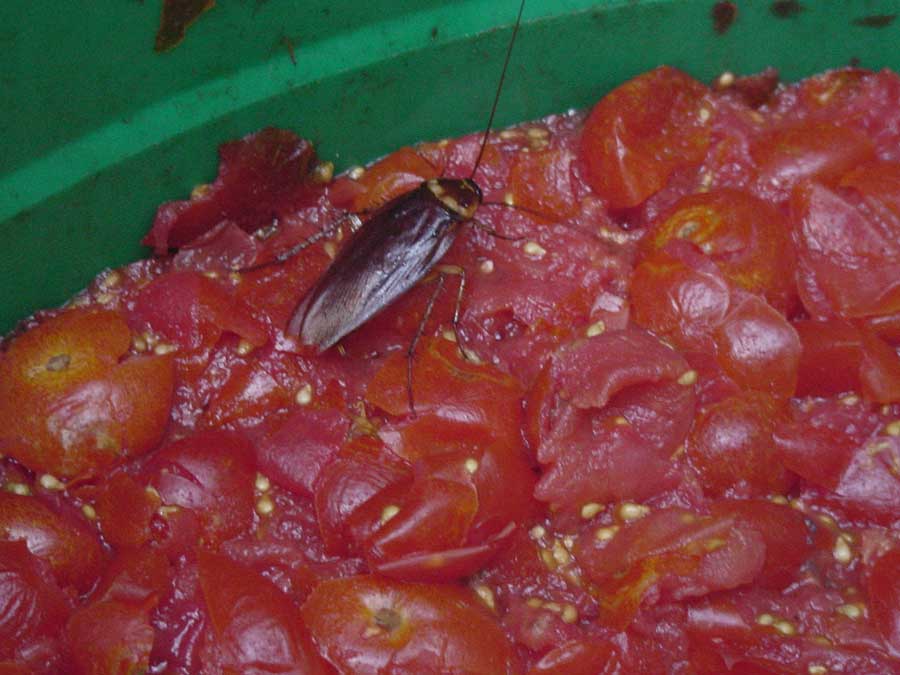
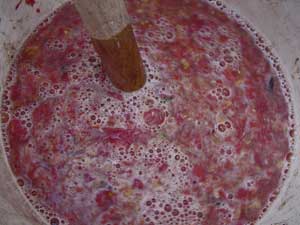
The removal of the gel coating from the tomato seed is helpful to produce a “clean” seed. Fermentation is used to “dissolve” the jelly-like covering. The time required for this complete fermentation to occur depends on the temperature in which the fermentation process occurs. The complete process described and pictured in these images occurred in 24 hours. During cooler periods, the same process has required 4-5 days. The seed should be examined daily for gel removal to judge the rate of fermentation. It is important to remove the seed from the solution as soon as possible after the gel coating is fermented away to prevent sprouting. If small sprouts are observed on the seed before drying, don’t panic—some seed are purposely pre-sprouted before drying to enhance the germination process.
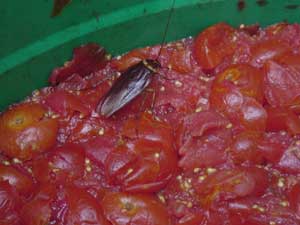
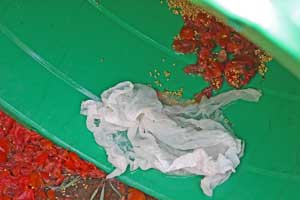
16. The fermentation process can be terribly odiferous and attract unwanted varmints.
|
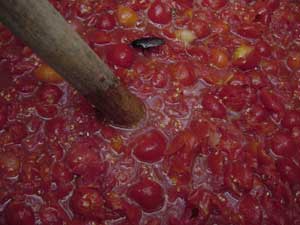
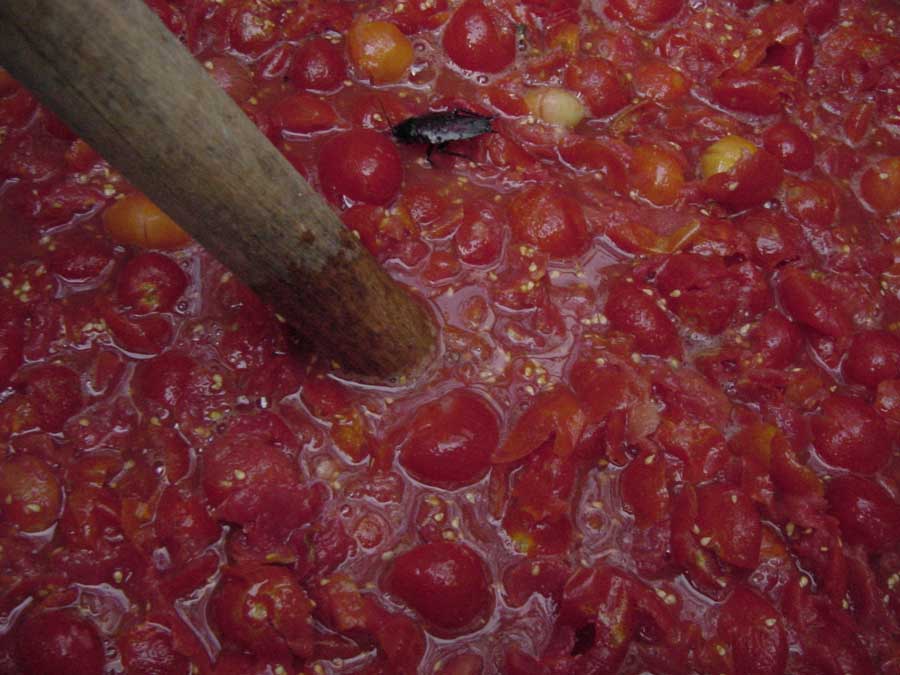
17. The fermenting slurry should be stirred every few hours.
|
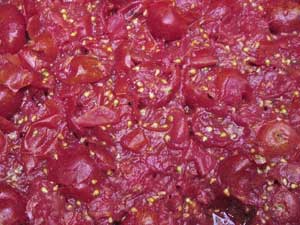
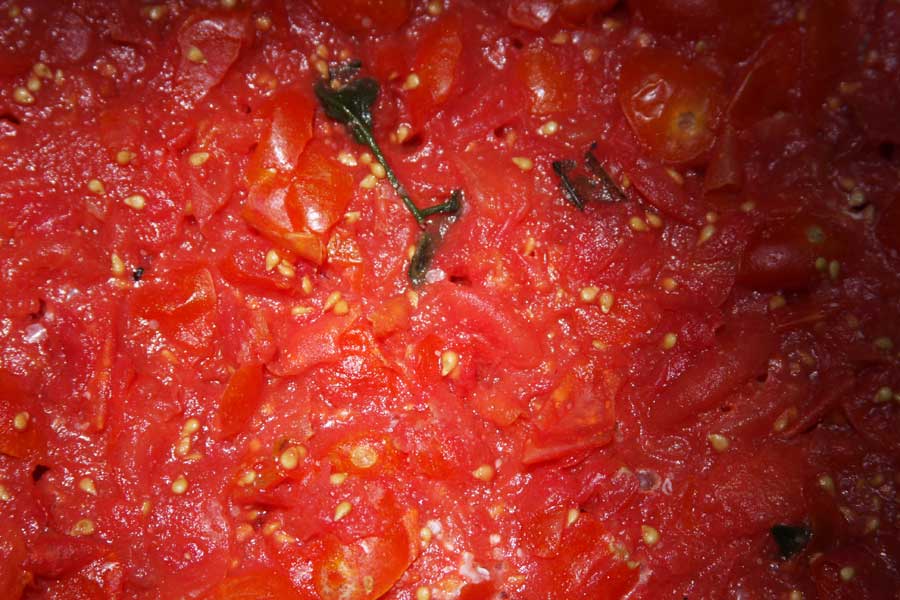
18. After a few stirrings, notice the disappearance of much of the gel seed coat.
|
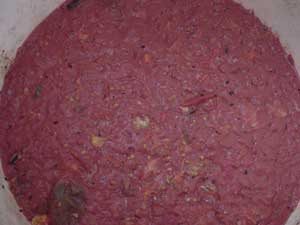
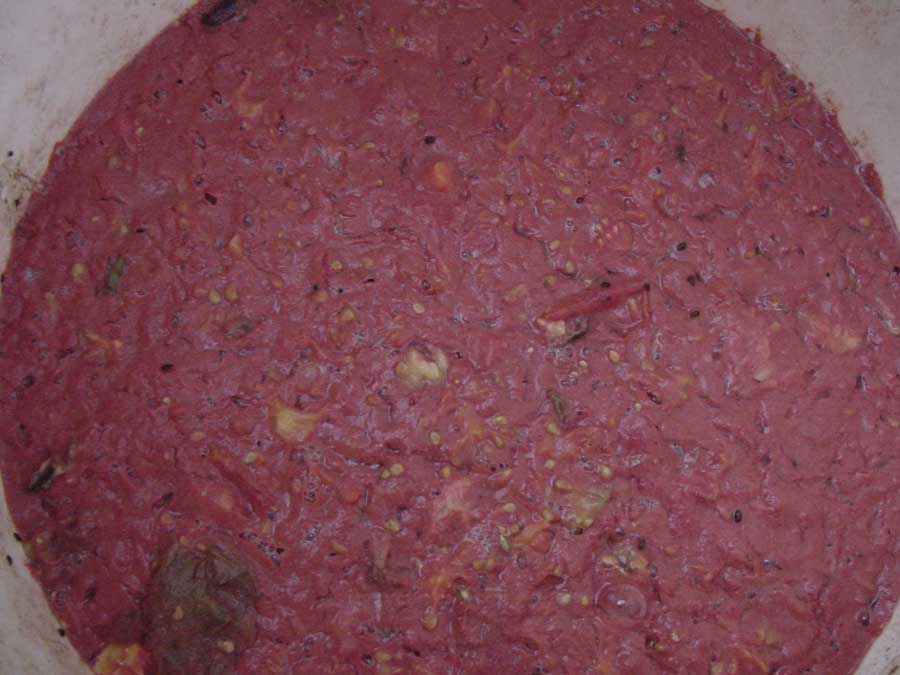
19. After a period of non-stirring, the top of the slurry may dry and seal.
|
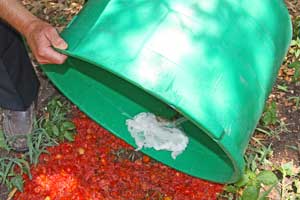
20. Simply stir the slurry vigorously to separate the good seed from the pulp.
|
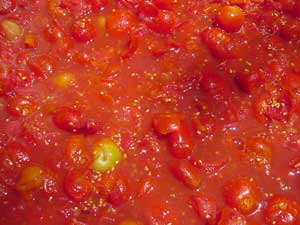
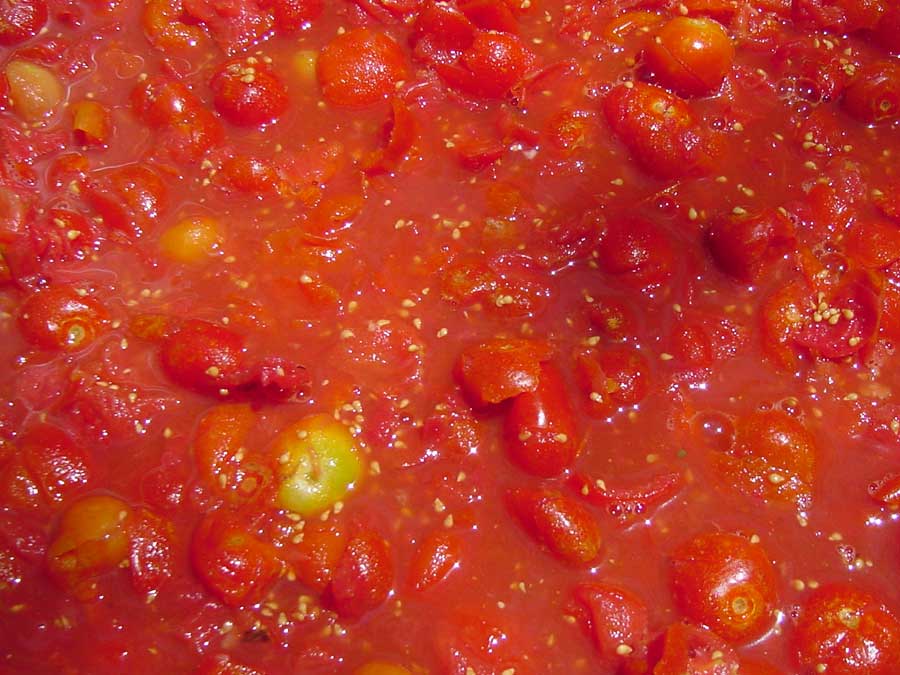
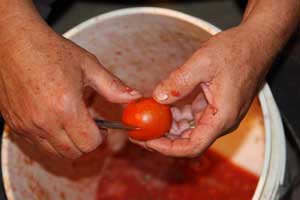
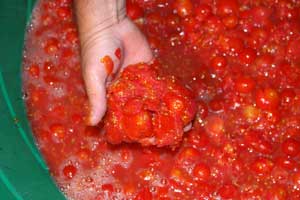
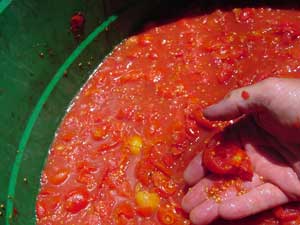
21. When using cherry tomatoes, after the fermentation begins check for whole fruit.
|

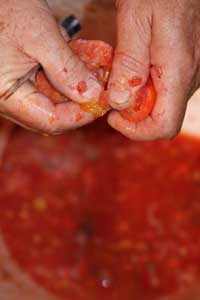
22. When whole fruit is found, squeeze it.
|
23. This releases the seed with gel and allows the fermentation process to begin.
|
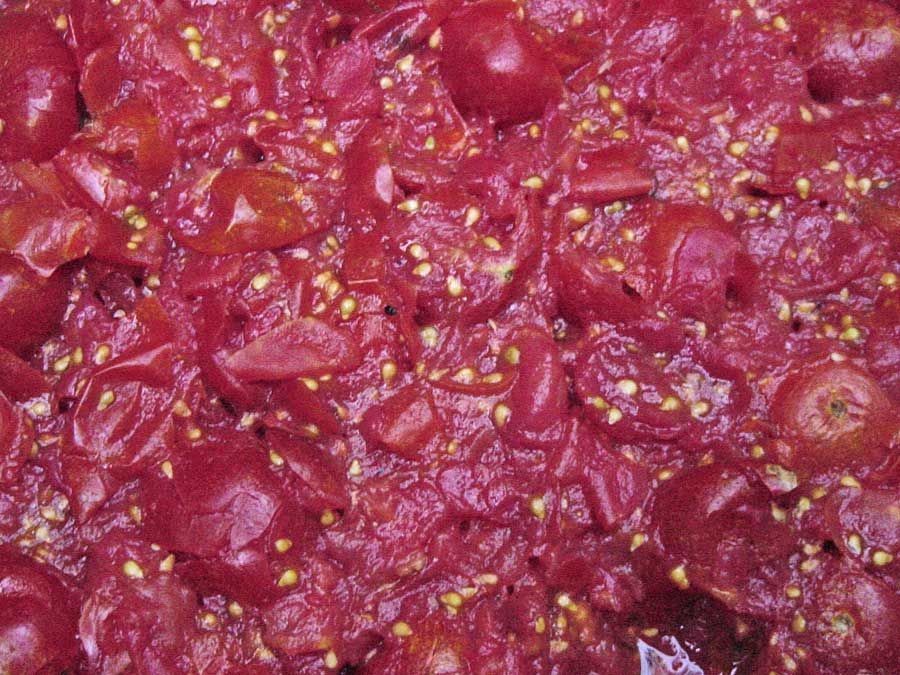
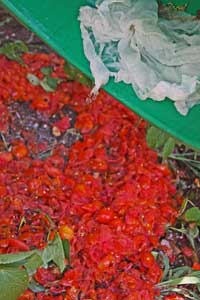
24. Notice the gradual loss of the seed gel after the fermentation process begins.
|
|
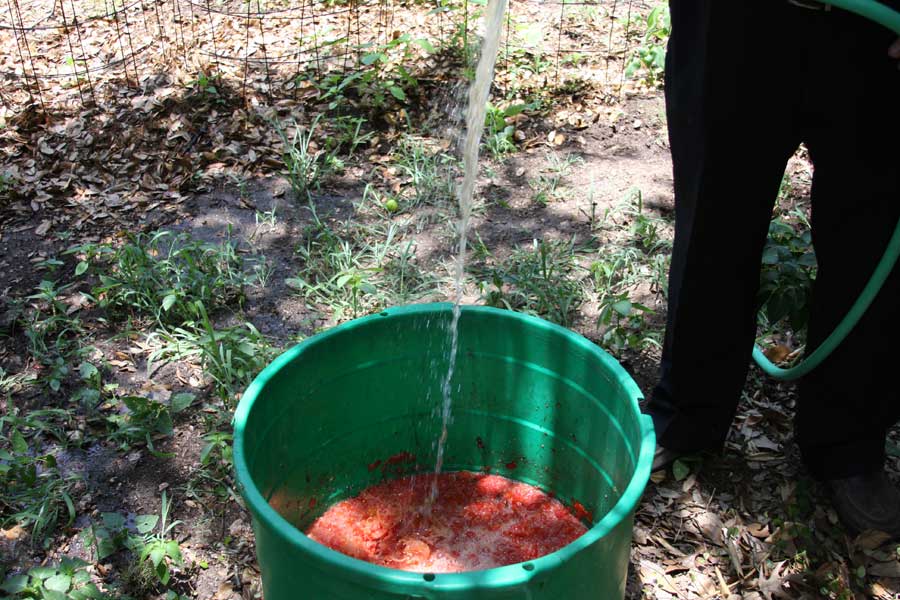
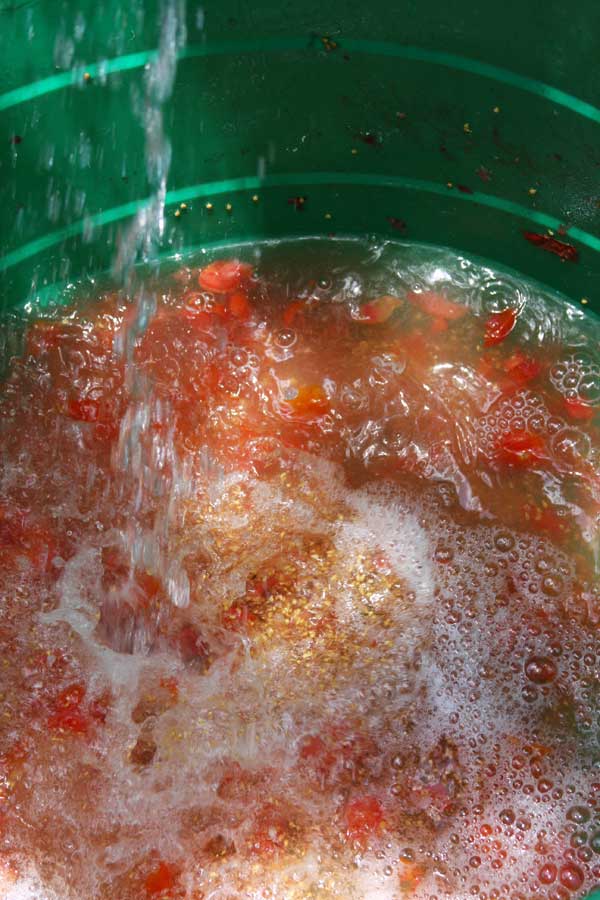
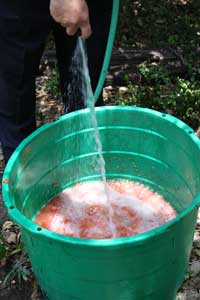
Washing and Drying of Seed
25. After all seed are devoid of any gel, it is time to wash the seed clean.
|
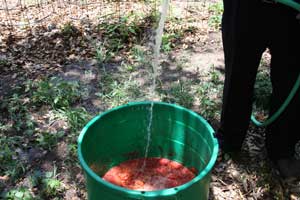
26. Use a forcible spray of water to dislodge the seed from the pulp.
|
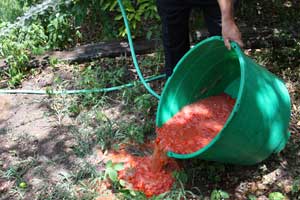
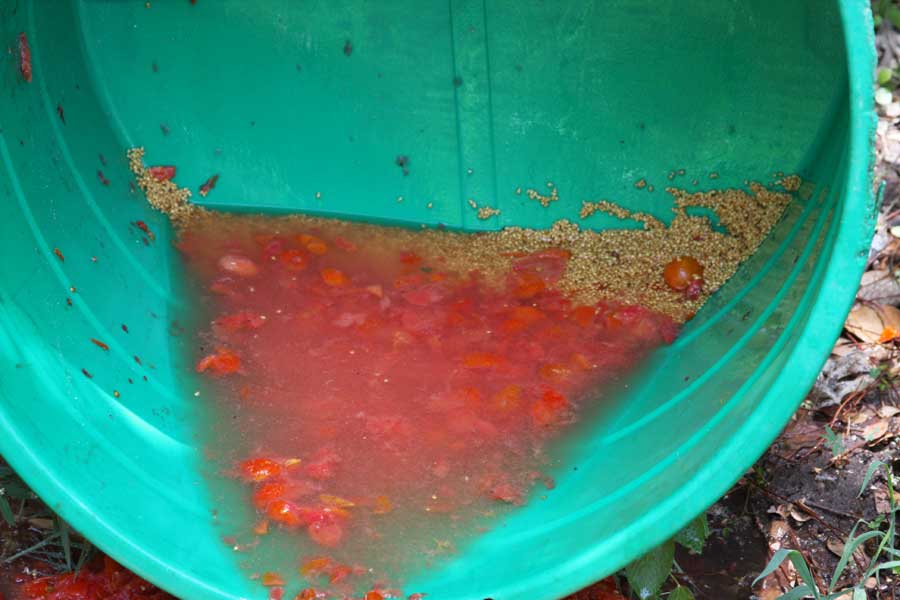
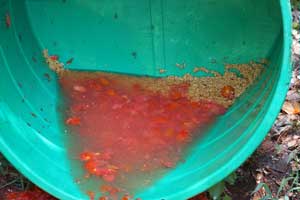
27. When solution stops swirling, the heavy seed settles so pour out half of hulls.
|
28. Some immature seed will be lost but good seed is on the bottom.
|
29. Repeat the procedure with a hard stream of water to displace the seed gel coat.
|

29A. Clean seed swirls under the pressure of the water flow.
|
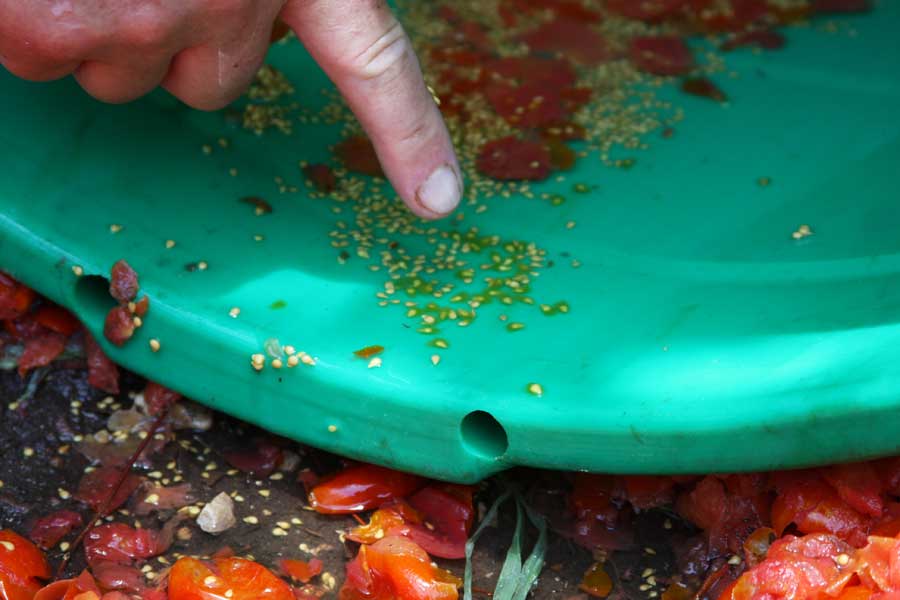
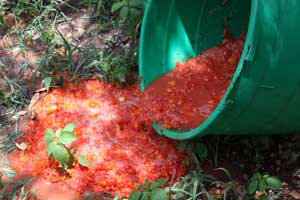
30. Notice the seed at the bottom with the remaining pulp floating off.
|
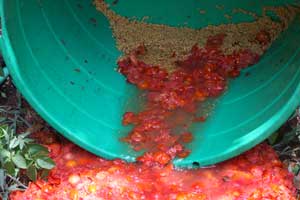
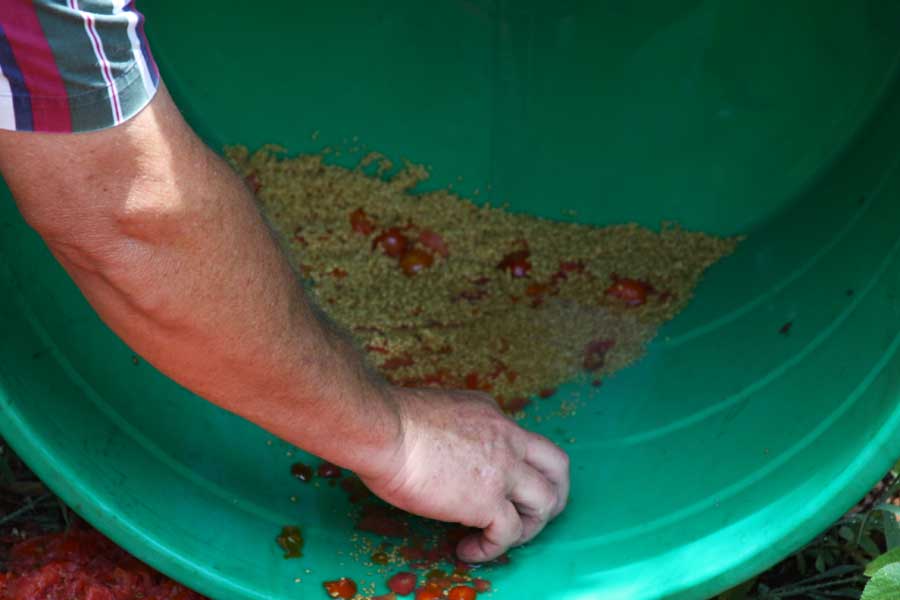
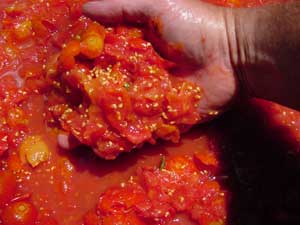
31. When the last of the heavy pulp separates from the seed ...
|
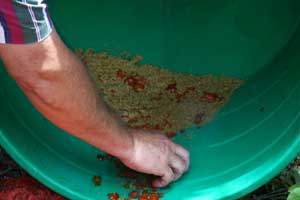
32. ... Hand harvest the heavy pulp and not squeezed fruit.
|

33. The green gel covering on seed shows it didn't go through fermentation.
|
34. A folded piece of paper towel placed in front of the seed ...
|
35. ... the last of the water and allow the seed to drain completely.
|
36. Every last drop of water can be drained without losing any seed.
|
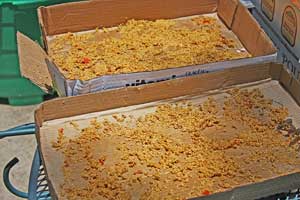
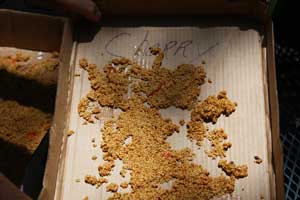
37. After the seed is thoroughly drained, carefully rake it onto flat cardboard.
|
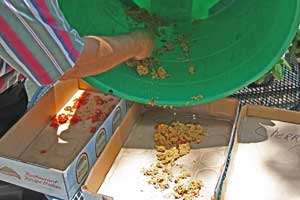
38. The seeds fall onto the cardboard in dough-like clumps.
|
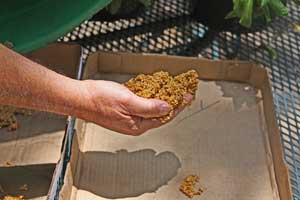
39. The dough-like seed should not be raked or squeezed to avoid seed damage.
|
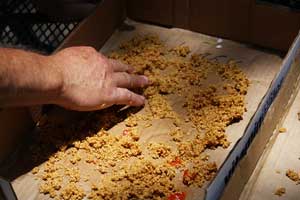
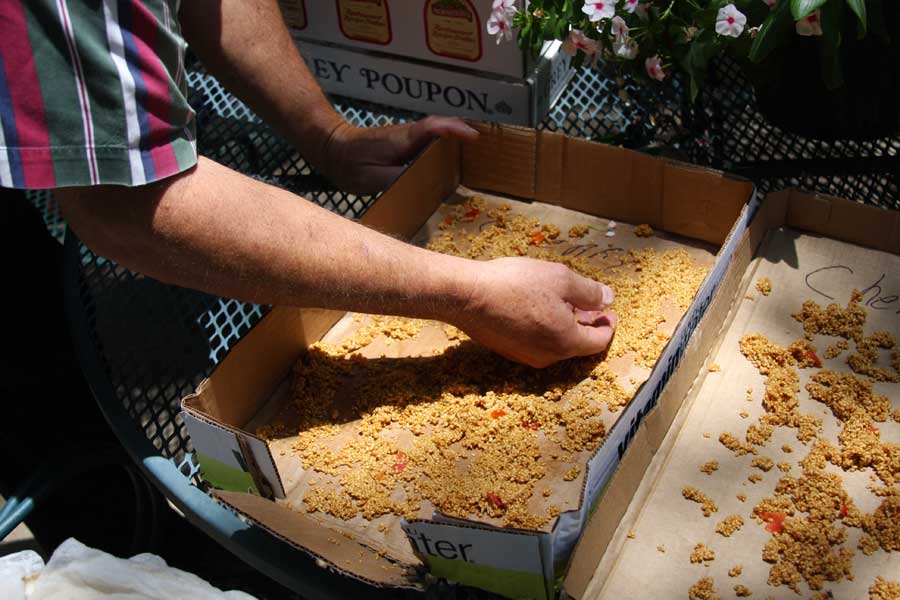
40. Carefully spread the soft doughy seed masses being careful not to damage seed.
|
41. Press-and-spread all seed which is clumping.
|
42. Rubbing with the back of your hand will press-and-spread seed which is clumped.
|
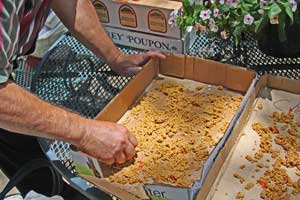
43. When seed is flattened and spread, the cardboard will absorb the extra water.
|
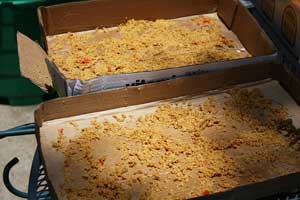
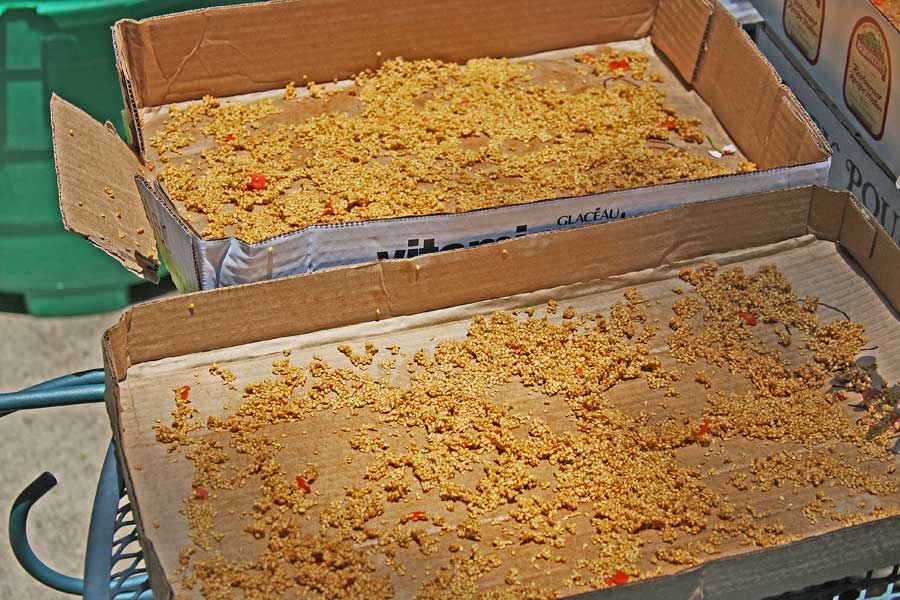
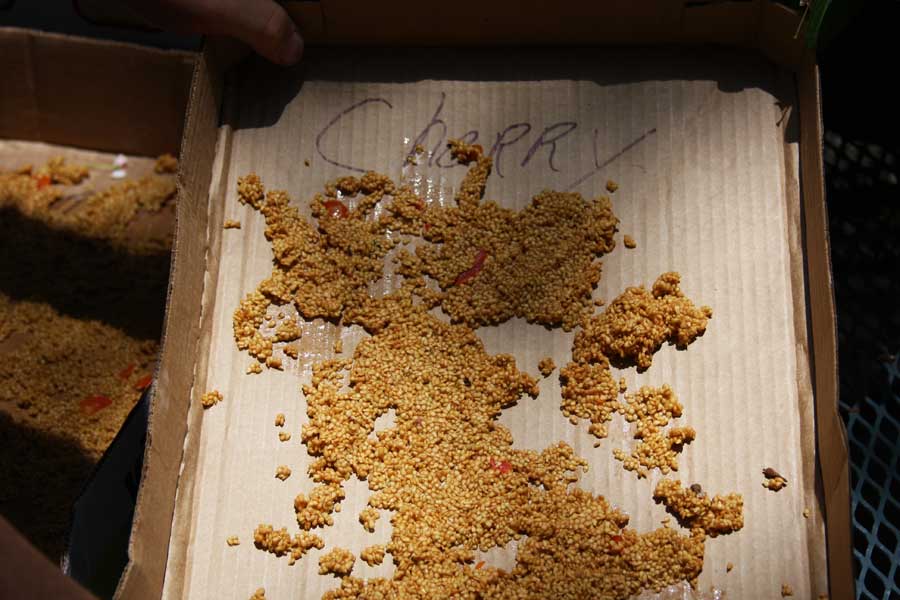
44. Once the seed is spread, allow to dry as fast as possible in a sunny location.
|

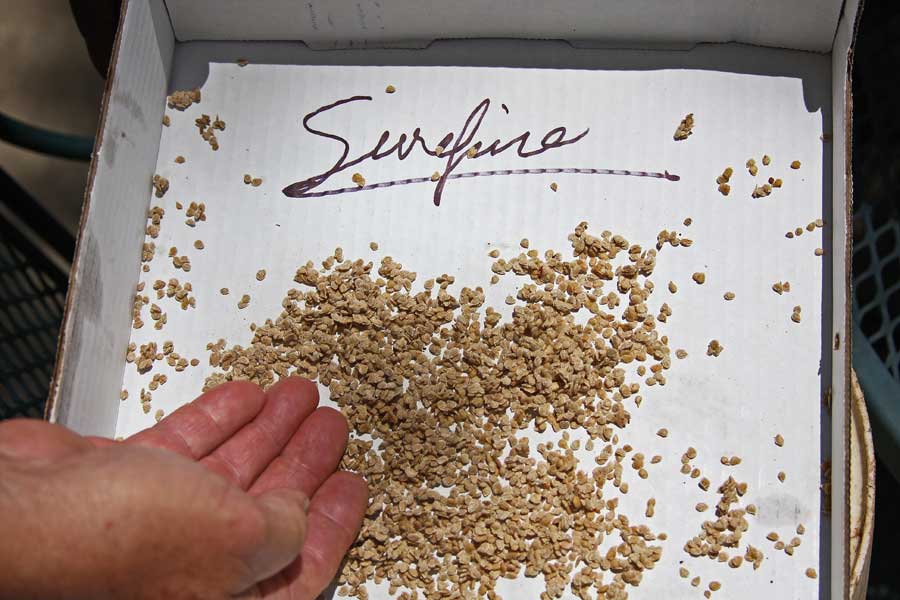
45. Once dried thoroughly, the seed is scrapped off, packaged, and labeled.
|
|